This tutotial is about how to use my railway tracks.
Introduction
The idea was to make a logic track system inspired by the Märklin K system. The first tracks were made with an angle of about 18° which isn't that realistic. Then I made the 15° tracks which are used in most of my models except for Groβendorf. At last I also made a few 7° turnouts that should be used at the railway lines where the trains are going much faster than at stations were the 15° turnouts should be used. I haven't made any straight tracks. You have to make that yourself.
Basics
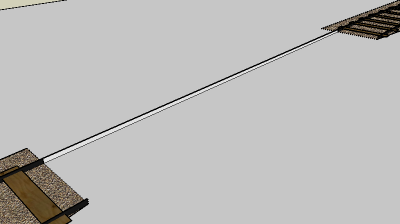
When I designed the railway tracks the most important thing was that the distance between the tracks at a double track railway should be 4,5 however you connect them.
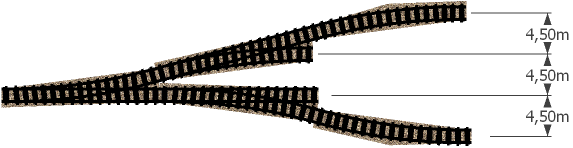
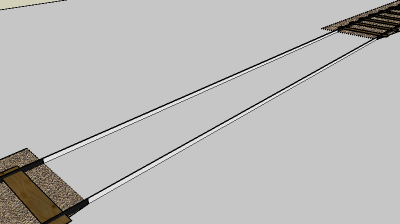
However, just like you can see the ending of the two turnouts in the center isn't parallel. That's the reason why you have to make the straight parts yourself. I could have made a lot of straight tracks with different lengths but just to remember all of them would be much harder than making it yourself every time you need a small piece of track.
How to place the components on the ground
Place the components where you want them to be over a face. Then draw the contour of them all. If you have drawn the contour right there should be another face located at the same place as the components.
As you can see the new face are located at the same place as the faces inside the components and are therefore useless. Remove it and hide the lines around the hole. The easiest way to select all the lines is to double click at the face. Maybe you have to delete one of the components when you are doing this but you can bring it back by clicking 'ctrl+z' before you do anything else. In this example the ground isn't painted so you can see that the faces are located on the same spot easier.
Drawing straight tracks
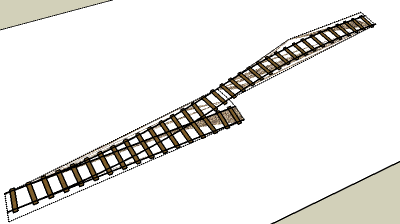
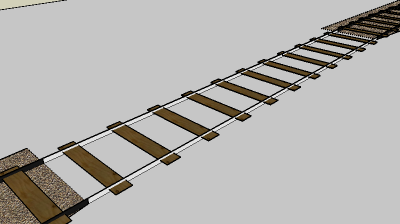
Drawing straight tracks is easier than including the finished parts. Just draw the two faces between the premade components and then copy the sleepers that are located inside the components.
Double click at one of the components in the end of the track to open it. Close it again by clicking outside it. Click 'Edit > Paste In Place' in the toolbar to place the copy at the same spot as the original. Move it about 1 meter over the new track section. You can copy the sleeper a few times by using the move tool (M) and click 'ctrl'. I prefer a distance of 1 meter between the sleepers.
The railway line
The straight parts of the main railway line are the same as above example but the turns are a bit different. The turns I've made aren't that good at the railway lines because they are straight in the ends which would make a warped turn and the radius is very small.
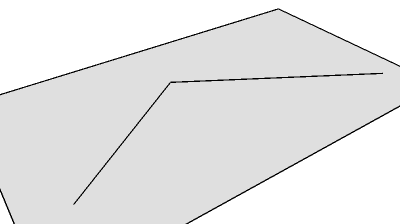

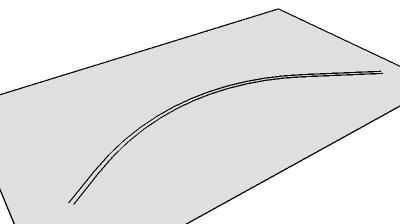
Draw two lines where you want the turn and then use the arch tool to create an arch between them. When the arch turns purple it has the right radius. Remove the unnecessary lines like it's done at the image.
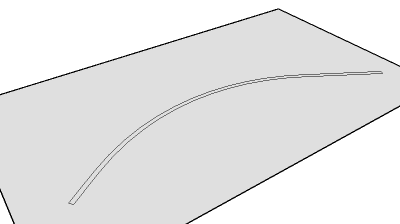
When you have a smooth line you can use the offset tool to make two lines width a distance of 1,4 meters between them. In the real world 1,435 meters are most common but you wont see the difference in the model. Draw one line in each end to make a new face inside the lines.
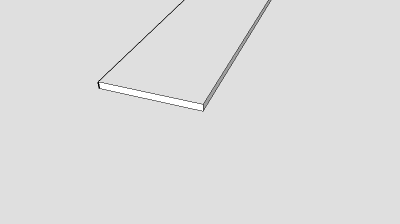
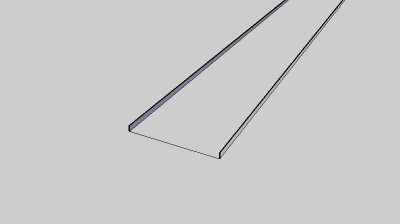
Use the 'Push/Pull tool' to raise the face 10cm but first, click 'ctrl' so the old face will still exist. Delete the edges at the ends and you got two curved faces with a distance of 1,4 meters between them and a height of 10cm.
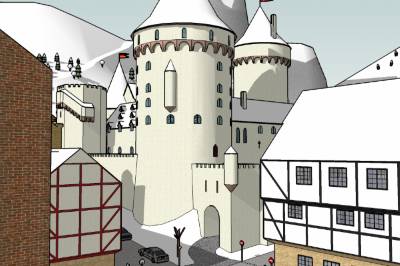
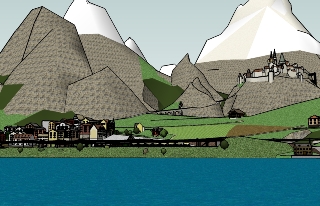
Example of models