Introduction
If you want to draw the interior of your house one or more cuts will make it much easier to see everything inside.
 | 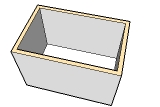 |
| Section cut tool | Drawn geometry |
In Sketchup there is a section cut tool but it can only do completely flat cuts and doesn't add a cut surface so you can see the inside of the walls, which does not look very good. Instead I prefer to actually draw the geometry for the cuts myself and use groups and layers to hide parts of the model.
The cut should never be in the same plane as any face in the model. This will cause trouble with edges that are both binds the "real" faces and the cut faces. Instead it should be a few decimeters underneath the sealing.
This tutorial will show how to make a house with just one floor and roof but the procedure is the exact same with even more floors.
Making the cut surface
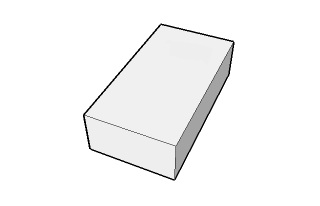
First you need a house. If you don't have one you can take a look at the basic house tutorial.
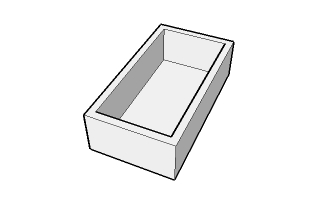
- Create a horizontal face beside your house.
- Select the face and it's bounding edges.
- Make a group of it(right click > "Make Group"). This will stop the face from accidentally intersect with the house.
- Place the face where you want the cut to be. Make sure that no part of the house is outside the face.
- Right click on the face and choose "intersect with model".
- Highlight all entities above the cut and make a group out of it. Also make another group out of the entities underneath the cut.
Drawing the interior
This is a simple way to draw the interior. In complex models it may be a good idea to start drawing the rooms before deciding where to put the cuts.
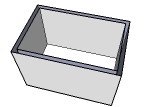
- Edit the lower group by double clicking on it.
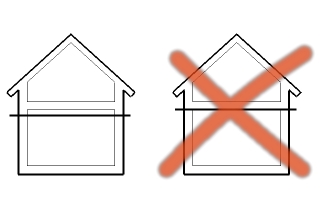
- Create the upper face by re-drawing on of it's bounding edges so it looks like the left picture above.
- Use the offset tool (f) to create a face within the upper face. The exterior walls could be a few decimeters thick.
- Use Push/Pull to lower this face. Do NOT cut right through the group. If so, the house will lack its floor.

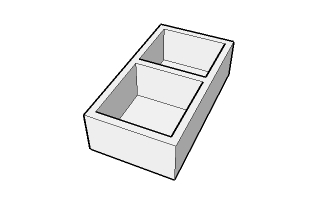
- Draw two parallel lines across the room to form a partition wall.
- Raise the face between these lines to the same height as the outer walls.
- Two lines will appear at the border between the partition and the outer walls. Delete them so it looks like the image to the right.
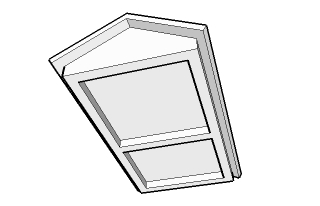
- Do step 5-7 with the upper group but this time just push the ceiling few decimeters.
- If you want more partition walls just do step 5-8 again.
Layers & scenes
Hiding and showing groups at the right time is the key for all this.
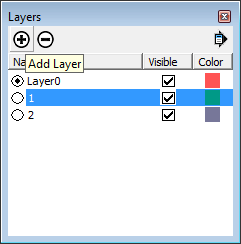
- Created a new layer for every floor. In this example only 1 and 2 is required. The layer window can be found in the Window menu.
- Right click on the upper group. Choose 'entity info' and move it to layer 2. Also move the part underneath the cut to layer 1.
- Also create a layer called 'cut' and a material called 'cut' for the cut surfaces.
- All cut surfaces and their bounding edges should be moved to the cut layer. This allows you to hide the cut surfaces when you look at the outside of the house. This can be done automatically with this plugin (Cut materials must however be named "!Cut!" or "!Cut#n!" where n is any integer to be recognized by the script.).
- Hide layer 2 to show the interior at the bottom floor.
- Create a new scene (view / animation / add scene).
- Right click on the scene tab (At the top of the window) and click 'Scene Manager'
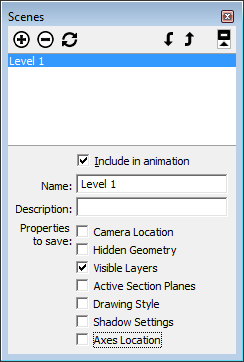
- Uncheck all 'properties to save' but 'visible layers'. We want the scene tab to toggle the floors without changing camera location.
- Also change the scene name to '1' or 'level 1'
- Repeat so all floors have a scene with those above hidden.
- Finally Create an exterior scene with all floors shown and the cut faces hidden.
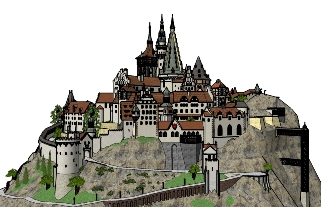
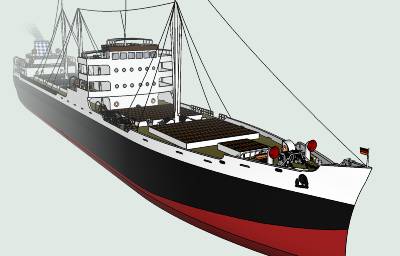
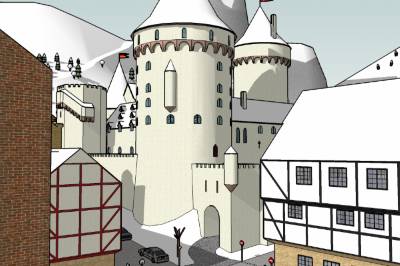
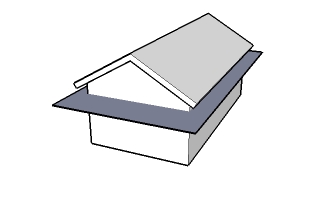
Example of models